
The Christmas atmosphere is determined by the details. For something, decoration is so important when it comes to receiving Christmas at home. And if we talk about Christmas decorations, we know that we cannot ignore candles, which in addition to providing a warm touch of light to your spaces, symbolize hope, prosperity, and goodwill for the days to come.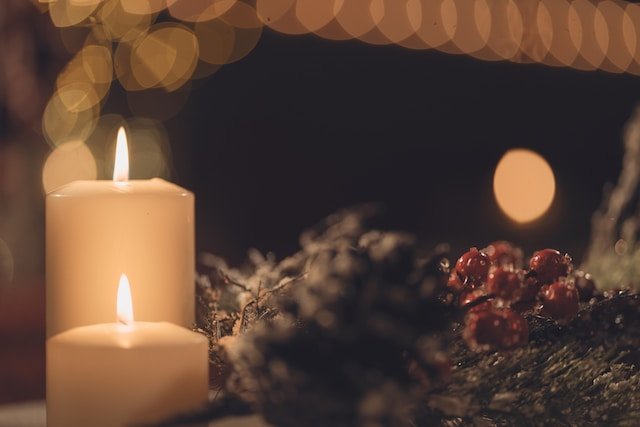
Go ahead then, not only decorate with candles but create the ones that you are going to use with your own hands, which is much easier than it seems. You will find the steps to follow to make a Christmas candle right away along with the list of materials you will need, so get to work!
Instructions for How to Make a Christmas Candle
- Before starting to work with the wax, you need to gather all your materials and check that you don’t need anything. Keep in mind that once you proceed to soften it, you need to use it as soon as possible, because if you don’t, it will you will only lose the opportunity to make your sails perfect. What happens is that the wax loses density after it softens the first time, and therefore the candles you try to make later can sink in the center causing them to give off a poor flame that will go out constantly until it finally stops burning.
- Now take your molds, verify that they are completely clean, and begin to place the wicks or wicks in their position. First place the foot in the center of the bottom of the mold and then, without letting go, pull the wick up until it protrudes from the mold. Now take a soup spoon and place it over the mouth of the mold and then gently roll the excess tip of the wick over the neck or handle of the spoon. This will help you keep the wick in position when pouring the wax. Prepare as many molds as you want to create candles and remember not to cut the wicks until you have poured the wax. This will prevent them from being too short and having a hard time lighting them later and keeping the flame alive.
- Now that you have everything you need, you can start working on the wax. Usually, unless the manufacturer tells you something different (such as putting it in the microwave), you should melt the wax in a water bath in a metal container placed in a saucepan with water that will be kept on medium heat throughout the process. When the wax begins to melt, you can add the essence of your choice and the colorant, either in drops or powder. Do not forget to constantly move with a silicone or wooden spatula to homogenize and eliminate any remaining lumps. Once the wax is well melted and integrated, take the temperature. When it oscillates between 85 and 90 degrees Celsius, turn off the heat.
- It’s time to do the emptying. Proceed to place your already ready molds on a cold surface. Carefully pour in some of the wax mixtures to coat and stabilize the foot of the wick. Let rest for a few seconds and then fill the mold. Let solidify at room temperature.
- Once the wax is solid, release the wick from the spoons and begin to carefully unmold. If you want to give your candles a perfect finish, go over them carefully with a hot iron to soften the edges and smooth out any uneven areas. Finish by trimming the wick, taking care that the tip protrudes at least 1.5 cm from the surface of the wax.
- Decorate the candles to your liking using stickers, greeting labels, or any detail of your liking. This method can help you make a candle in any size and shape you prefer.
What do you need for How to make a Christmas candle?
- Premium quality candle paraffin
- Waxed wicks of at least 8 cm with support foot
- Kitchen thermometer
- candle essence
- candle dye
- Various silicone molds
- Rubber or wooden spatula
- Pan
- Metal container that fits inside the saucepan
- Labels and decorative details
- Scissors
- kitchen soup spoons
Tips for How to Make a Christmas Candle
- Always use premium quality paraffin that comes in flakes, since the one that comes in pieces takes longer to soften.
- Use special silicone molds for candles. These make demolding much easier and many have decorative shapes that are very suitable for Christmas.
- Most traditional Christmas candles come in red, but you can also make them in deep blue or green, or metallic shades like gold or silver.
- If your candle is more than 10cm in circumference, place 2-3 wicks 1.5-2.5cm apart so that the wax burns evenly and the flames are not smothered.
- Use liquid coloring instead of powder. They integrate much better with melted wax.
- It’s a good idea to mix two colors of wax at the same time and alternate layers (allowing each to sit for a couple of minutes) to create two-tone candles. So is using additives like Magic Candle, which creates a very attractive mottled effect on white and tinted wax.